- Christmas Ornaments
- Knobs & Handles
- Statues and Sculptures
- Hooks & Hangers
- Statement Pieces
- Vintage Indian Kitchen
- Metal Door knockers
- Wall Painting
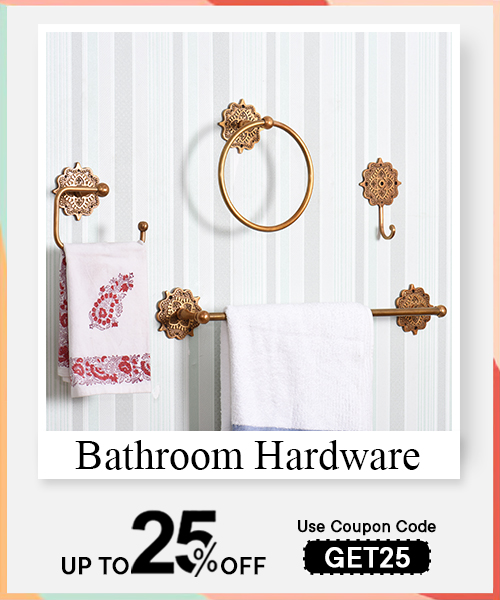
- Bathroom Hardware
- Venetian Mirror
- Bar Accessories
- Wooden Printing Blocks
- Lamps
- Wall Bracket
- Kitchenware
- Vintage Pocket Watch
- Spice Boxes
- Vases & Planters
- Old Ceramics
- Door Stopper
- Decorative Show Piece
- Furniture
- Glass Bottle
- Home Furnishing
- Silver Jewellery
- Beads
- Hand-Made Stationery
- Clothing, Shoes & Jewelry
- Gifts And Offers
- Discounted Products
- Tea
- Sun Catcher
- ← Door Handles
- All Door Handles
- Almirah Handles
- Bone Bridge Handles
- Brass Door Handles
- Brass Mortice Handles
- Ceramic Bridge Handles
- Ceramic handles
- Cupboard Door Handles
- Glass Bridge Handles
- Glass handles
- Kitchen Door Handles
- Metal handles
- Mortice Ceramic Door Handles
- Stone Bridge Handles
- Stone Handles
- Wooden, bone, resin & horn Handles
- ← Ceramic knobs
- All Ceramic knobs
- Ceramic A-Z Knobs
- Ceramic bulb shape knob
- Ceramic crackle knob
- Ceramic dotted knob
- Ceramic fauna knobs
- Ceramic floral pattern knobs
- Ceramic flower shape knob
- Ceramic Heart Knobs
- Ceramic kids room knob
- Ceramic Numerical Knobs
- Ceramic solid color knob
- Ceramic Strewn Knobs
- Ceramic striped knob
- Ceramic vehicular Knobs
- Ceramic Vintage Style Knobs
- Clock face ceramic knob
- Theia Ceramic Knobs and Handles
- ← Ceramic Wall Hooks
- All Ceramic Wall Hooks
- Alphabet Hooks
- Ceramic Bulb Shape Hooks
- Ceramic Crackle Wall Hooks
- Ceramic Dotted Wall Hooks
- Ceramic Etched Hooks
- Ceramic Iron Hooks
- Ceramic Solid Color Wall Hooks
- Ceramic Star Shape Hooks
- Ceramic Strewn Wall Hooks
- Ceramic Striped Wall Hooks
- Ceramic Tile Hooks
- Ceramic Zinc Hooks
- Fauna Hooks
- Floral Painted Hooks
- Flower Shape Hook
- Fruits hooks
- Numerical Hooks
- Vehicular Hooks
- ← Hooks & Hangers
- All Hooks & Hangers
- Adhesive Hooks
- Aluminium Hooks
- Animal Shape Hooks
- Brass Wall Hooks
- Bronze Tribal Hooks & Hangers
- Ceramic Wall Hooks
- Cloth Hanger
- Glass Wall Hooks
- Hat & Coat Hook
- Iron Hooks
- Key Holders
- Kids Wall Hooks
- Towel Hanger
- Wall & Wood Hooks
- Wall Hangers
- Wall Hanging
- Wall Hooks
- Wood Wall Hangers
- Wooden block hooks
- ← Glass Knobs
- All Glass Knobs
- Berry Glass knob
- Big Glass Knob
- Crystal knob
- Fine cut glass knobs
- Flat Glass Knobs
- Flower inside glass knob
- Glass bubble knob
- Glass devils eye knob
- Glass diamond shape knob
- Glass Dotted knob
- Glass flower knob
- Glass Heart Knobs
- Glass Mushroom Knob
- Glass square knob
- Glass Star Flower Knob
- Glass striped knob
- Glass Tube Knob
- Glass Wheel knob
- Mercury Glass Knobs
- Spiral inside glass knob
- Tingle glass knobs
- Tiny cyclone glass knobs
- Tiny glass ball knob
- Umbrella glass knob
- ← Spice Boxes
- All Spice Boxes
- Chest Of Drawers
- Eight Drawers Spice Box
- Five Drawers Spice Box
- Four Drawer Spice Box
- Nine Drawers Spice Box
- Old Spice Boxes
- One Drawers Spice Box
- Seven Drawers Spice Box
- Six Drawers Spice Box
- Sixteen Drawers Spice Box
- Ten Drawers Spice Box
- Three Drawers Spice Box
- Twelve Drawers Spice Box
- Two Drawers Spice Box

Cash on Delivery
Easy Returns and 100% Purchase Protection

Get upto 15% off
On Prepaid Orders

Free Shipping
On Orders above Rs. 500
-

-
Customer Support: +91-9999072207
Mon-Sat (10 AM - 6 PM)

Cash on Delivery
Easy Returns and 100% Purchase Protection

Get upto 15% off
On Prepaid Orders

Free Shipping
On Orders above Rs. 500


